When it comes to making a website I want to have all the bells and whistles with none of the complications of hosting a webserver or CI/CD pipeline or dealing with operational issues like certificate renewals or security.
My search led me to Gridsome - a Vue.js & GraphQL powered framework for static site generation. There's many starter examples that show how to connect various technologies to get your project started.
This example uses Forestry and Netlify to make it really easy (and free) to deploy a website.
Netlify
Netlify manages our domains, DNS records, hosts our website, acts as a CDN, and performs CI/CD to build and deploy our website as changes are committed. It also offers edge functions to do things like forward pages for custom URL shortening.
Netlify handles taking changes and deploying them as soon as possible based on what it sees in source control (e.g.: Github).
Setting Up DNS
You can either register a domain through Netlify or change your nameservers over for Netlify to manage them.
In my case I registered roflmypancakes.com through Google Domains and set the nameservers to point to Netlify.
Copying the Repository & Setting Up CI
Starting with this repository forked/cloned:
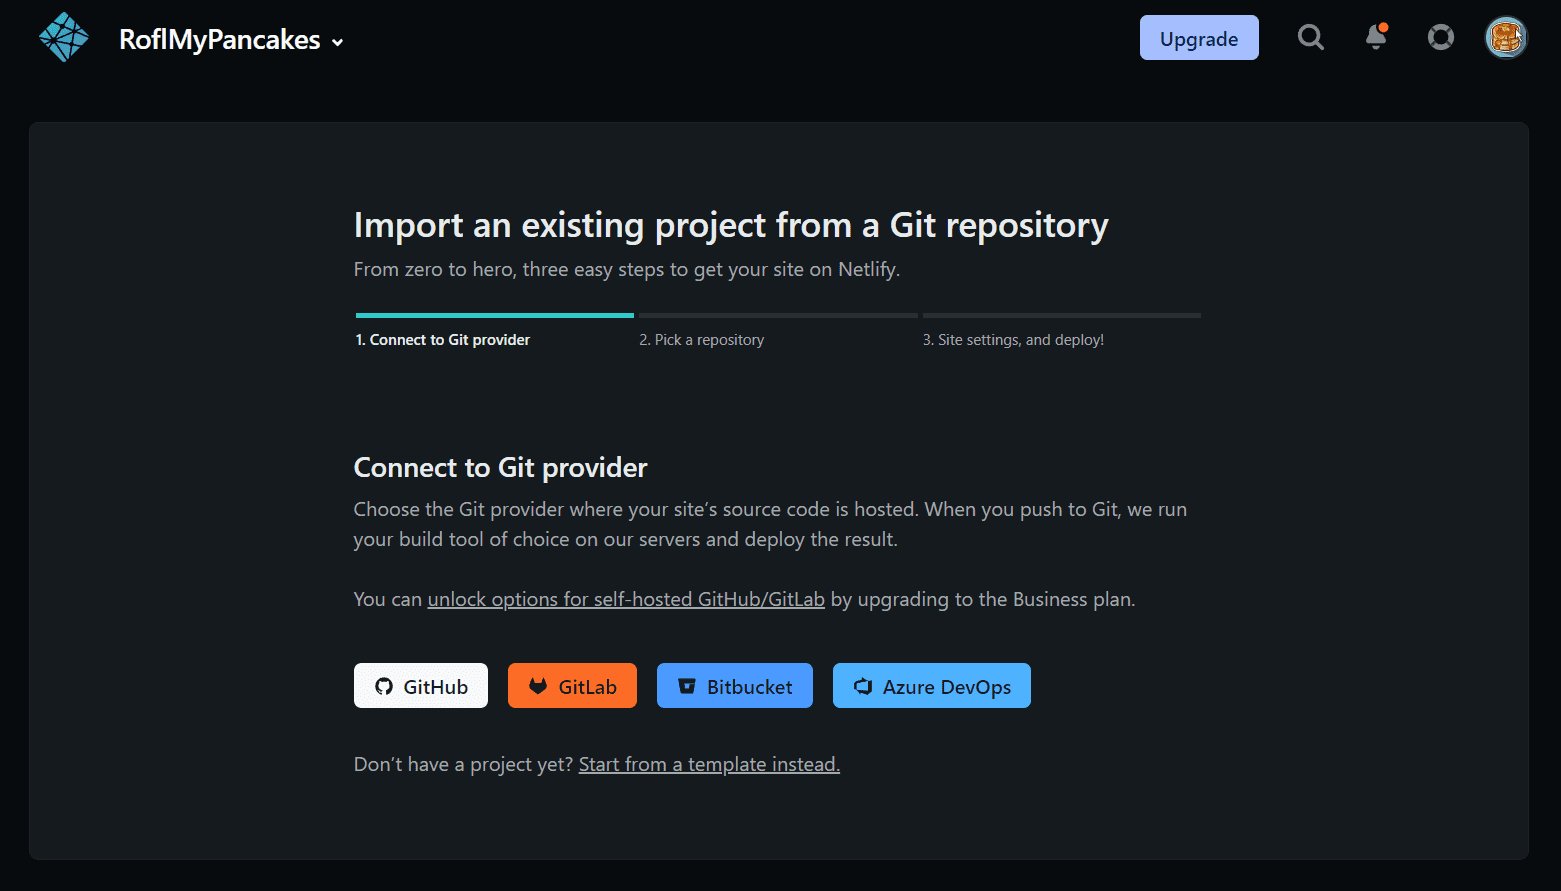
Click Add new site

Select your source code repository (e.g. Github)

Grant it access to your repository and set the following:
Build command: gridsome build
Publish directory: dist
Forestry
Forestry provides a CMS (content management system) on top of that source control.
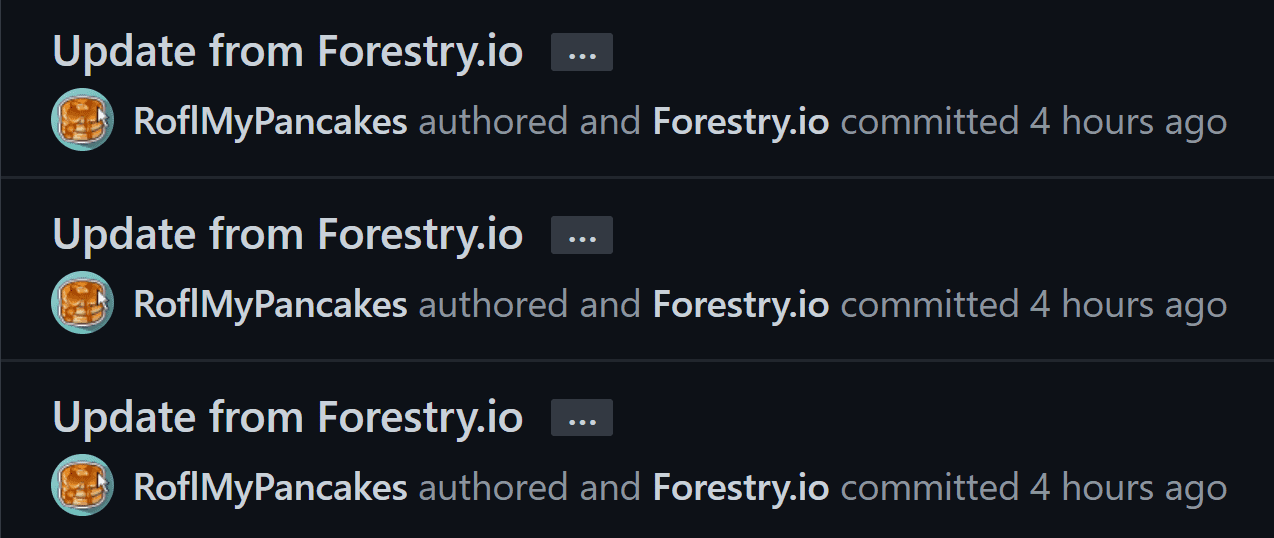
Forestry saves its own config and the posts/pages you create, and images you upload, to the repository as commits.
To get started after signing up we can import the same repository as before:
- Click add site
- Select "Other" for Gridsome
- Select your git provider (e.g. Github)
- Sign in & allow
- Select your repository and branch
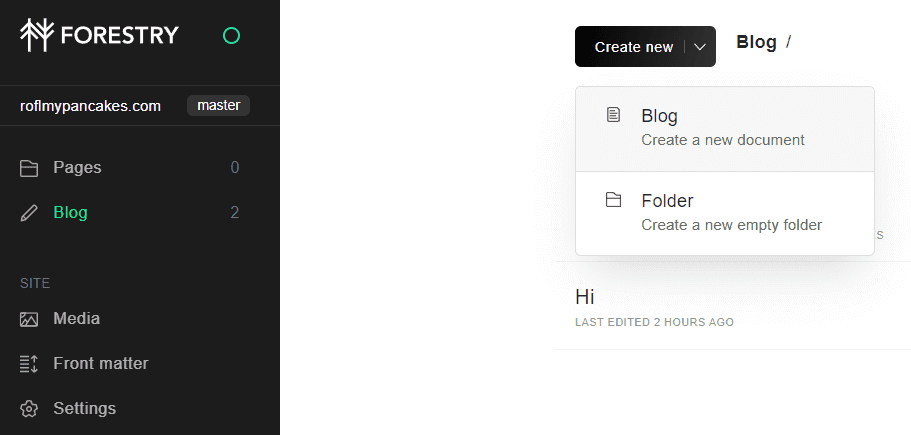
With this repository configured we can create new blog posts:

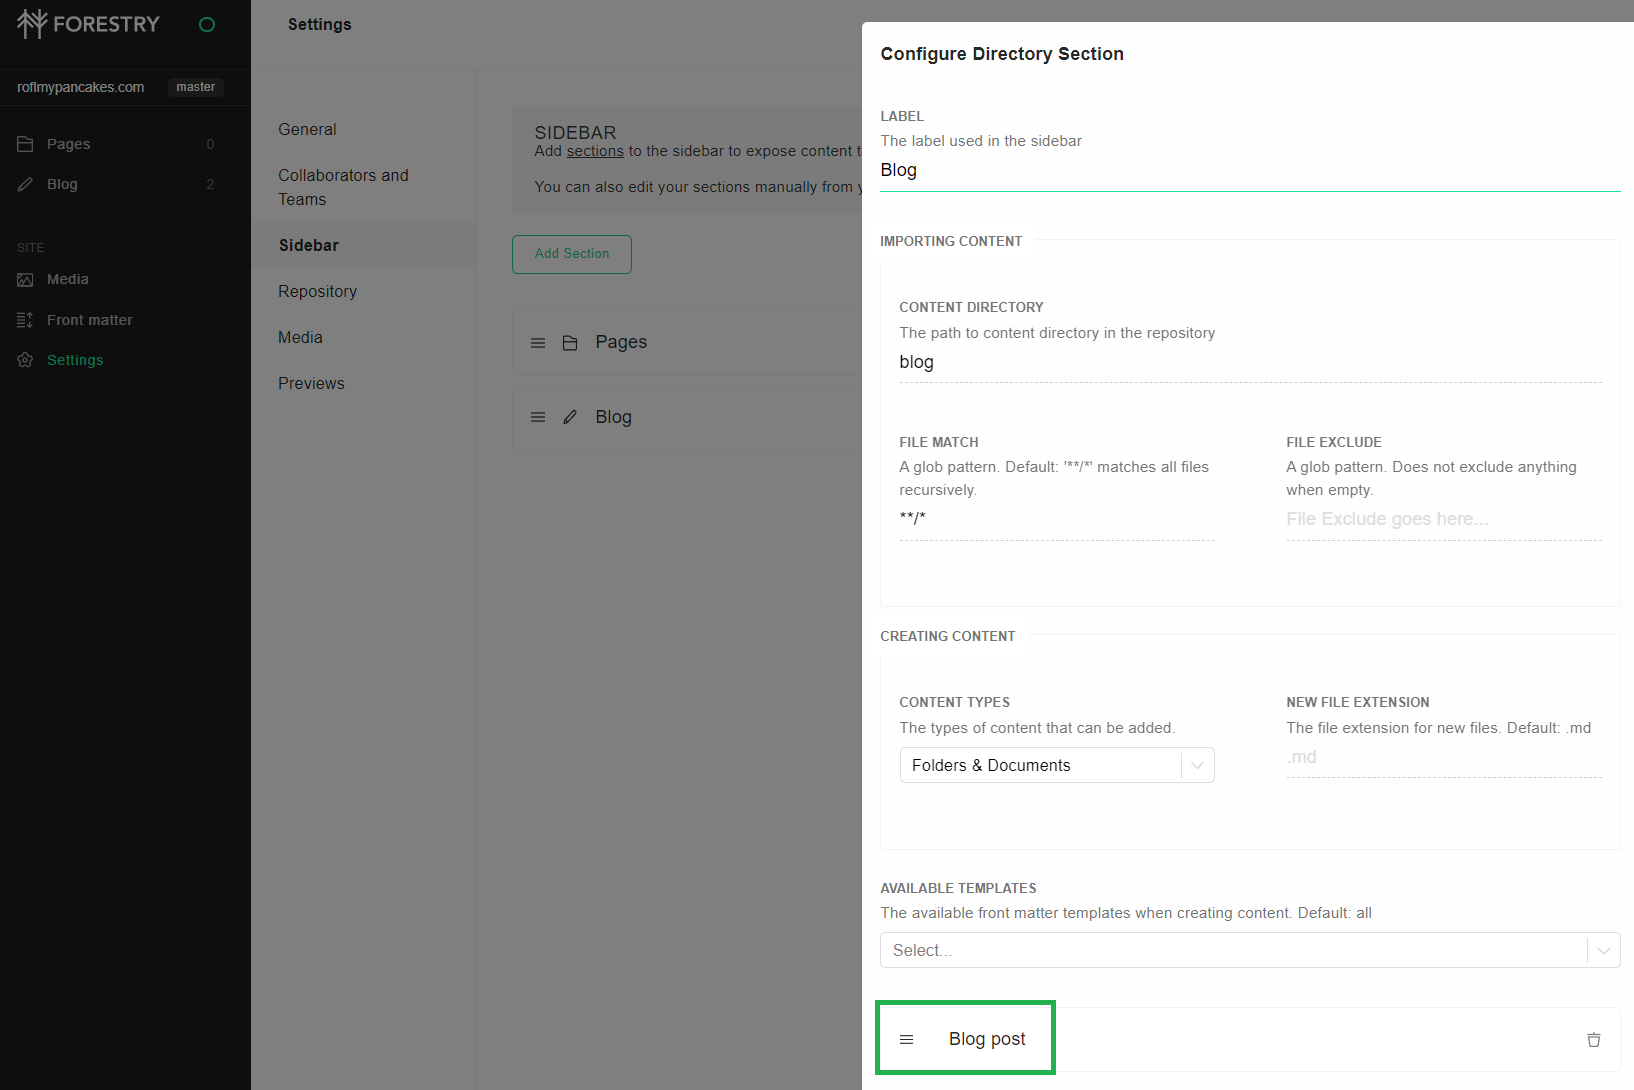
Blog pages are an arbitrary definition created by us. It is based on the .forestry folder in the repository. The forestry blog template is what defines the inputs. The vue blog post template is what uses those inputs to make a common page layout. Where blog posts are stored (in our case, in the blog folder in the repository) is defined in the sidebar:

And ultimately that config too is saved to the repository settings.yml as defined here.
Everything we change is synced back to the repository as commits.

As I upload images using this CMS to put into this post they are committed to the repository as well, uploaded to the configured uploads folder.
Connecting the Dots
As changes are applied in Forestry, commits are generated to the repository, and builds are triggered in Netlify. These builds are published and the website is updated for all to see.
We get:
- CMS without a webserver with an admin page or a database
- CI/CD without servers to maintain
- Certificates through LetsEncrypt automagically
- A static webpage deployment
- CDN
- Nginx/webserver features (like forwarding, edge functions, form submissions) without a webserver
- Auto reloading development environment with Gridsome
By just plugging these two services into the same github repository.
Both the Forestry and Netlify plans I use are free.
A .com domain costs about $12/year or $1/month.
